

So a while ago I posted up a tutorial on highlighting your figs here. The problem is knowing where the shadows and highlights go on a model. It's been a major issue for me in the past, but I've seen some improvements in my painting ever since I used this trick.
When I'm placing my shadows and highlights, I try to imagine where a light source is and how it's interacting with the model I'm painting.
But imagining can be hard.
Thankfully, mankind has gifted us with the digital camera and image editing tools.
But imagining can be hard.
Thankfully, mankind has gifted us with the digital camera and image editing tools.

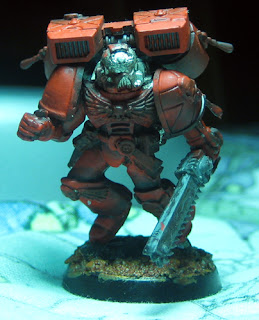
Place your lighting source wherever you like on your model and just click away with the camera. I personally like to place my lamp directly above.

Get your photo up on your editing program of choice. I use Photoshop but there's also a free alternative called Paint.NET. It's available here

Photoshop users:Go to 'image'-'adjustments'-'brightness/contrast'
Paint.NET users:Go to 'adjustments'-brightness/contrast'
Crank up the contrast all the way. Voila, the shadows and highlights are much easier to see now!
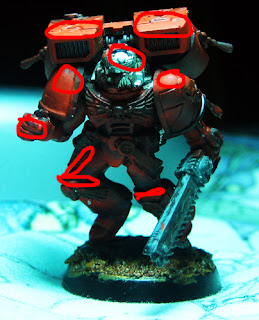
The red circles represent areas where the light hits the model the most, so I should focus my highlights around these. Save it on your phone, laptop or print it out and use it as a guide to paint next time.
No comments:
Post a Comment